In this lesson we’re going to:
- Change the size of the layout
- Get a quick overview of the interface
- Load the background image
- Save the project
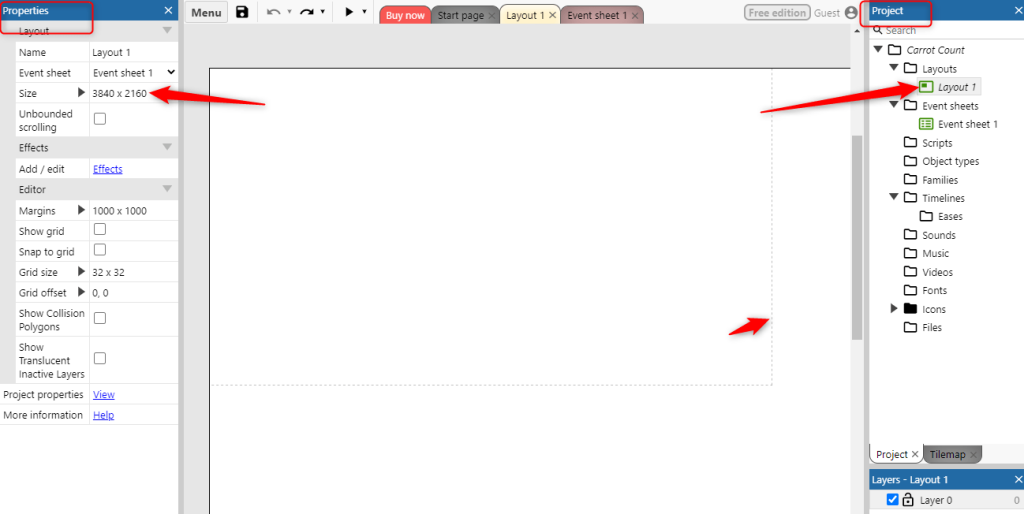
Your screen should look similar to the image below. You may need to scroll out a bit to see the same view with the dotted lines.
We covered this in more detail in the foundation training, however there are a couple of important things to remember here:
- On the RIGHT of the screen we see all the elements which make up the game project. You will see currently, the name of the game is ‘Carrot Count’ and there is one Layout (a layout is like a room or stage, we use different layouts for different elements in the game) and one Event Sheet (the event sheet details all the events in the game).
- On the LEFT of the screen you will see the property panel. This will show you the details of any property (element) in the game. This will be something we constantly refer to as it tells us all we need to know about an element in the game.
CLICK ON ‘LAYOUT 1’ IN THE PROPERTY PANEL
We want to change the size of the layout. You will see at the moment there are some dotted lines – these indicate that the ‘viewport’ (what you actually see on the screen) is smaller than the layout. This would be great if we were creating a game which entailed scrolling to different areas, but we just want a single non-moving screen, therefore we need to change the layout size so it is the same as the viewport size.
To do this, make sure ‘Layout 1’ is clicked and change the size in the Properties panel on the left to 1920 x 1080.
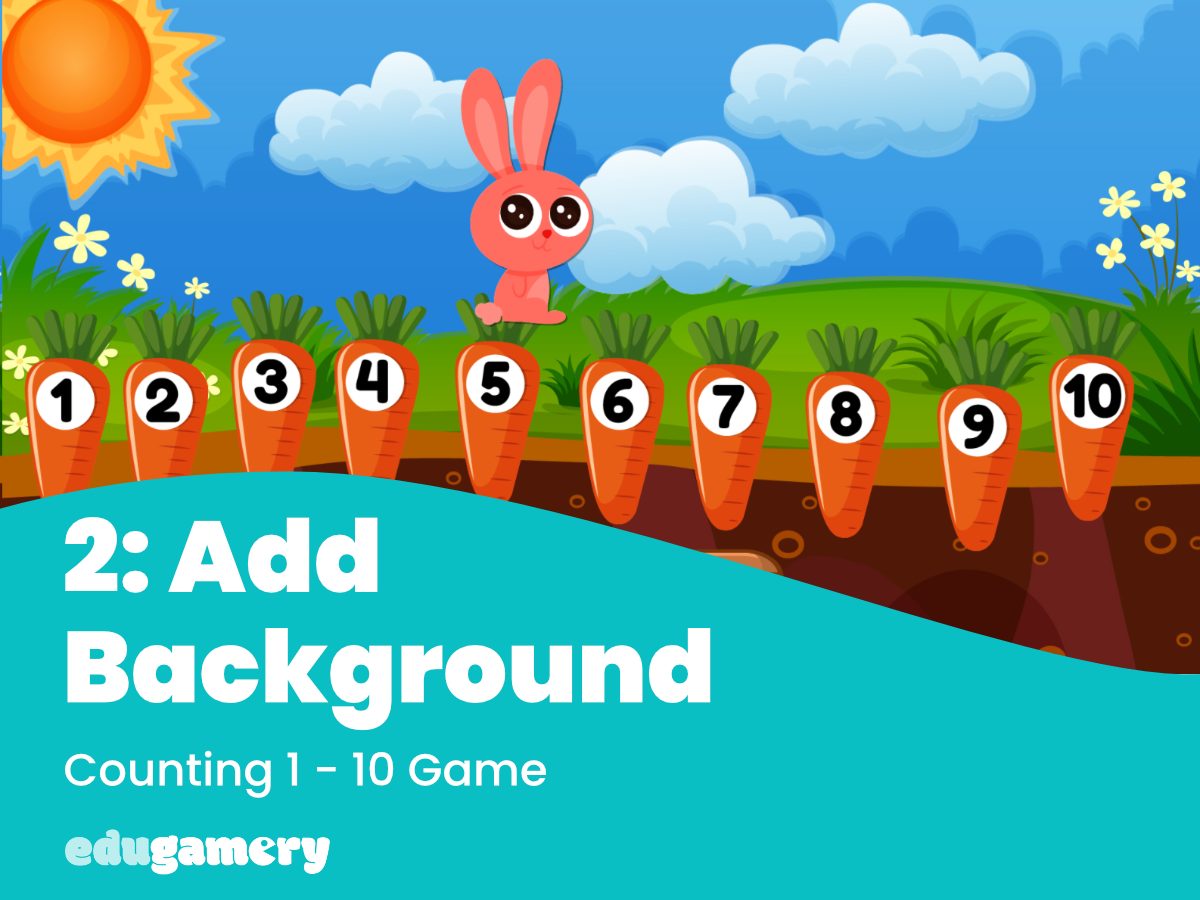
Add the Background
Download the graphics if you haven’t already done so, unzip the file and save it to your computer.
There are two ways to add graphics to your project. The first is by far the easiest and that’s to simply drag the graphics onto the page.
Navigate on your computer to where you have stored the graphics file, select the background image and just drag it into place on the game layout.
Save the Project
The last thing we are going to do before moving on to the carrots is to save the project. It’s good to get into the habit of saving regularly.
To save the project for the first time, go to ‘Menu’ and select ‘Project’ and then ‘Save as’.
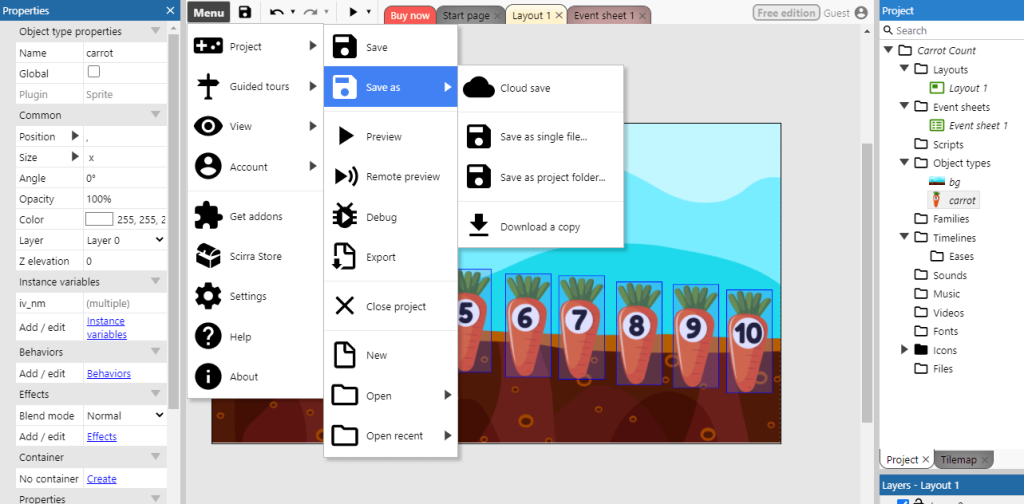
You will see we have some options. We can either save as a Cloud save (which means we can save to Google Drive or Dropbox and access the files again from any machine) or we can save as a single file, which will save to your hard drive.
I save to my Google Drive folder.
Further saves can be done by just clicking the save icon at the top of the page.
REMEMBER TO SAVE YOUR WORK REGULARLY!