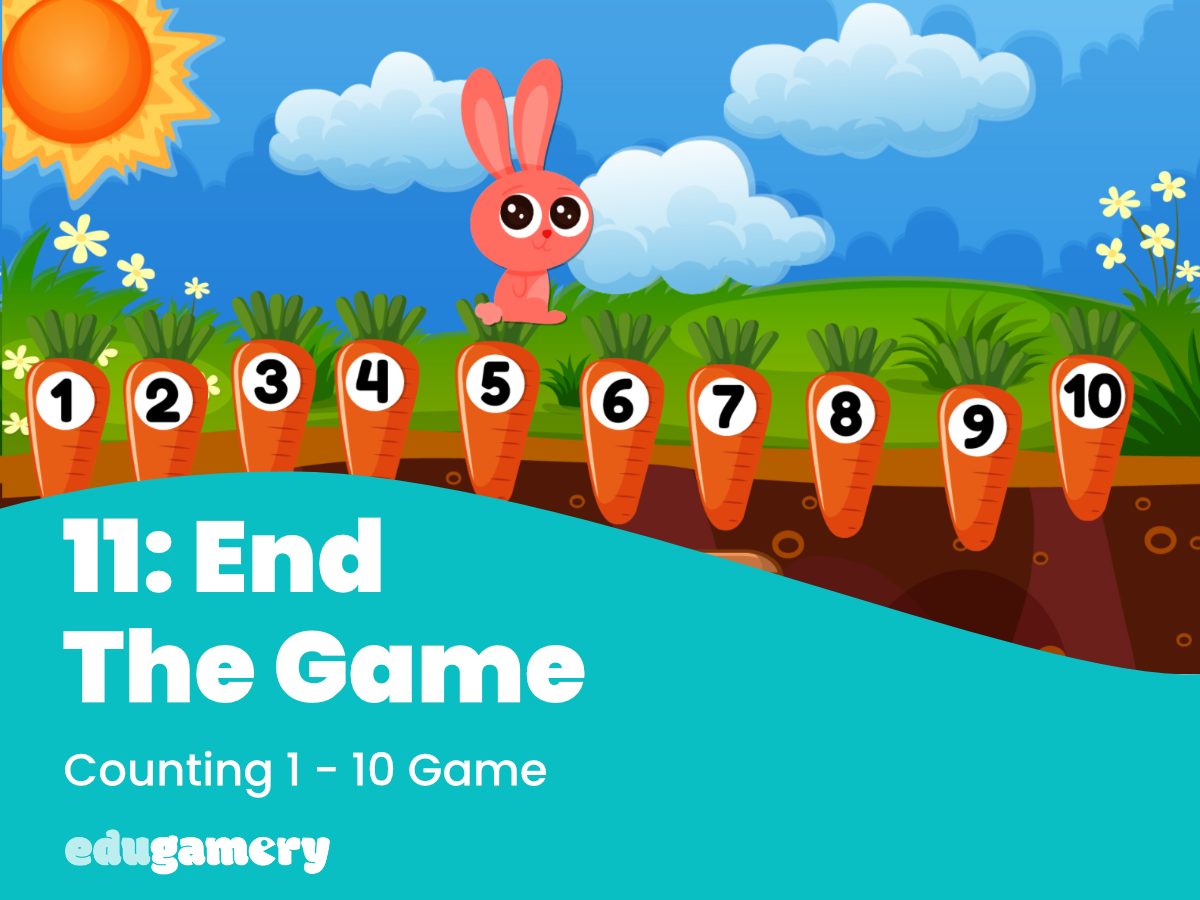
We’re now going to end the game by creating a ‘play again’ graphic and replay button and reset the game so it is ready to play again.
We have done many of the steps before, so this is also a good recap of what we have covered so far!
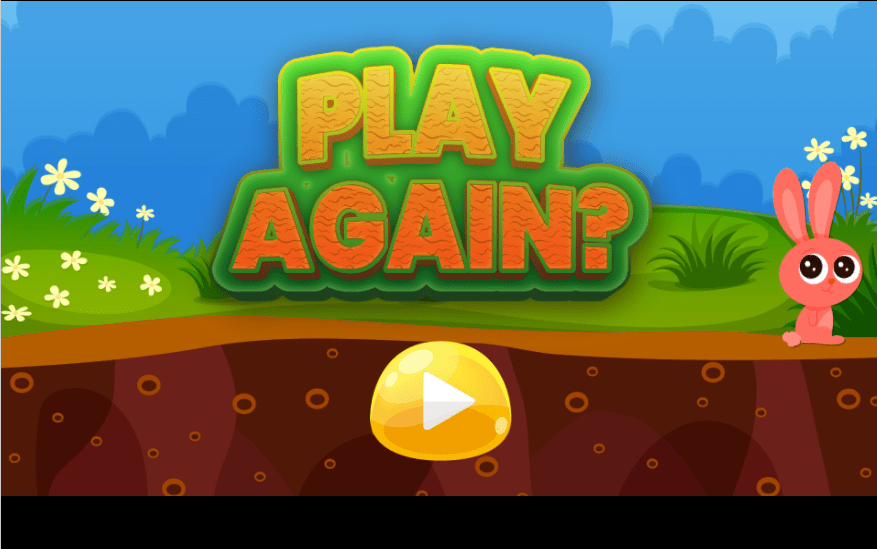
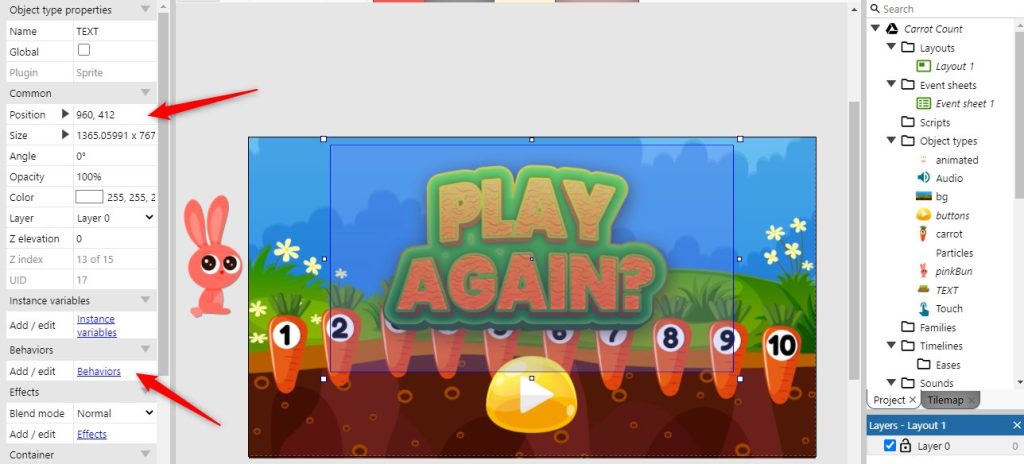
1/ Add the Title and Play button graphic (add each image separately by dragging them onto the background in the Layout view). Position the Play Again graphic and the button where you want them to appear. At the moment they will be show on top of the carrots – that’s fine as we will remove the carrots later. Note how you can see the position of the objects in the Property panel.
2/ Add Tween and Sine behaviour to both the Play Again and the Button object.

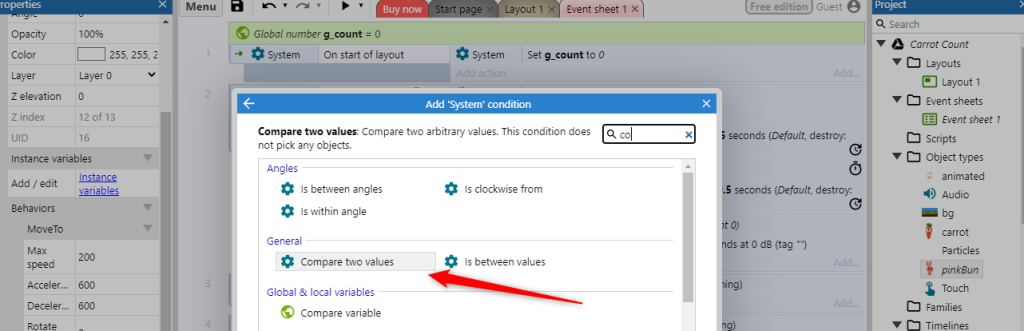
3/ Go to the Event Sheet and add a new event, this time selecting System. This time we want to ‘Compare two values‘
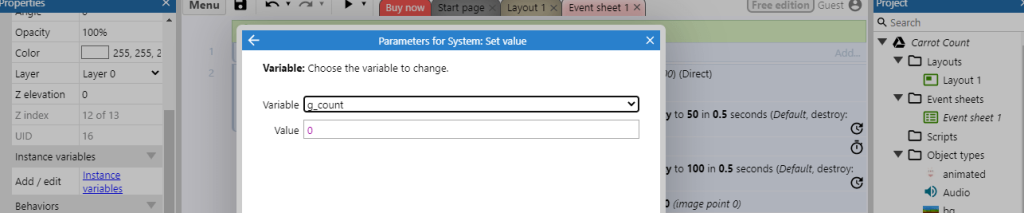
We want the system to take an action when g_count equals 10.. As g_count gets increased by 1 each time, we know that when it is a 10, the last carrot has been clicked.
Therefore set the values as follows which tells the system that when g_count = 10 we want it to take action.
We want to add a second condition here, so right click in the event and select ‘add another condition’ and this time select System > Trigger once while true. This means the action will only happen once – in this case the fanfare will only play once. If we didn’t tell the system to only trigger the event once, the fanfare would repeatedly be played.
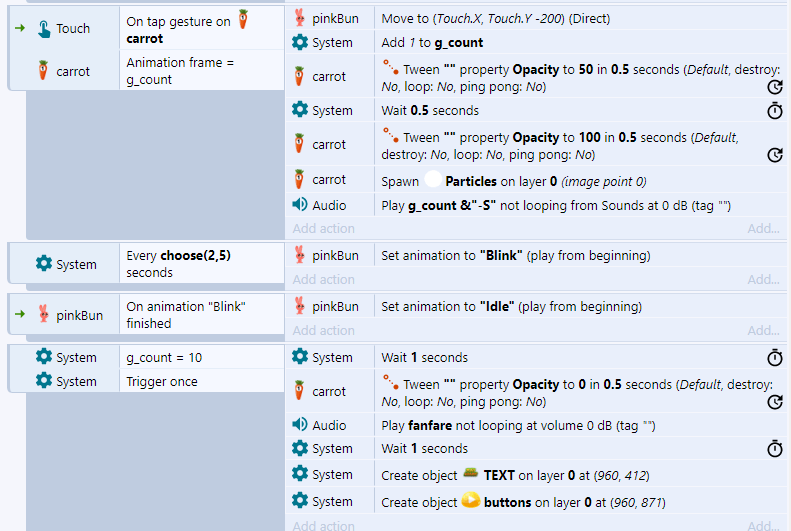
4/ Set new actions as follows:
System > Wait action – set it to 1 second
Carrots > Tween action – set the opacity to 0 and change the time to 0.5
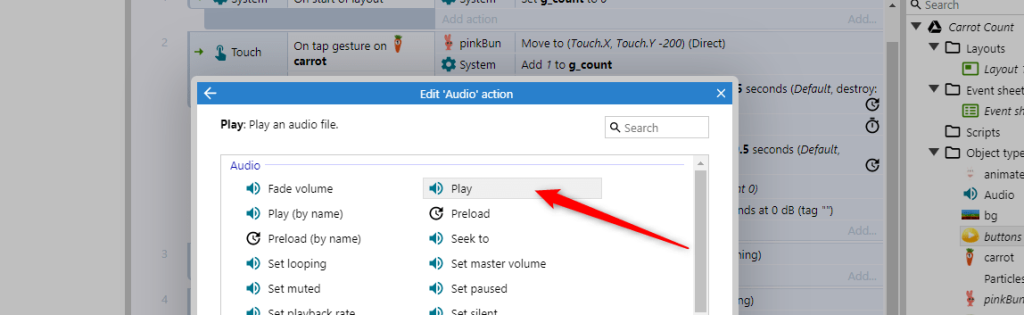
Audio > Play action – choose ‘fanfare’ from the drop down list and leave other settings the same. Note: this is a different Audio action than that we took above. This time we are looking for Play, not Play by name.
System > Wait action – set to 1 second (you could copy and paste the one above nd drag it into position
5/ Create New Objects
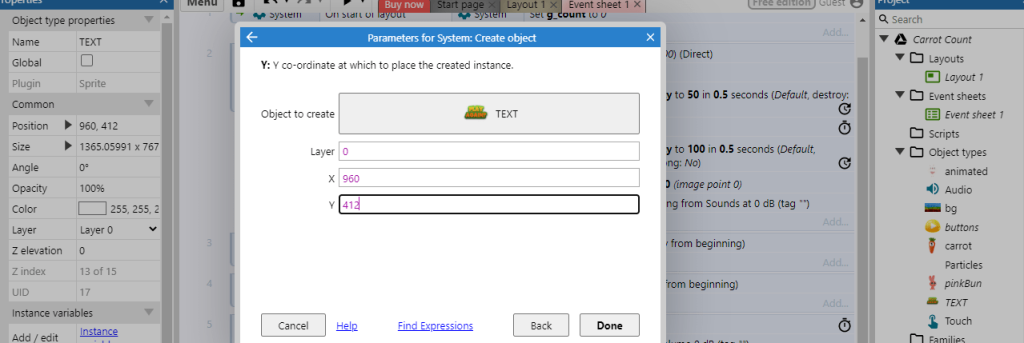
The last actions we are going to add are to create the ‘Play Again’ and the play button objects. To do this, create a new action and choose ‘System’ then look for ‘Create a new object’. A panel will then open prompting you to choose the object you would like to add and the position where you want it created.
Select the object you require and then set the position (you can check the position you require the object created at on the Layout tab).
You can now go ahead and delete both the Play Again graphic and button as we will be creating them from scratch at the end of the game. To do this, just right click on the graphic and select ‘Delete’.

Tip: Delete the objects from the layout NOT from the project panel. If you delete them from the project panel, the objects will no longer be available for the system to create in the game.
Your event sheet should now look like this: