In this lesson we are going to:
- Add the carrot graphics
- Create new instances of the carrots
- Change the graphic for each carrot
Now it’s time to add the carrots!
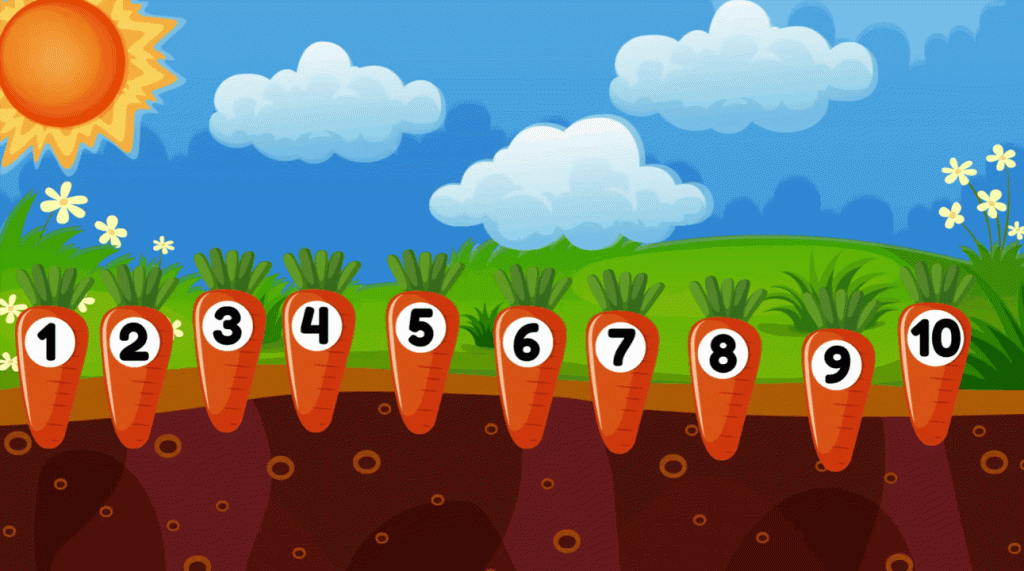
Instead of adding 10 separate carrots objects, we’re going to add just one, with all the images added to that object. To do this, follow the same process we used to load the background image, but this time select all 10 images and drag them onto the page in one go.
You will see in the project bar on the right, an icon for the carrot object now appears.
We now need to duplicate the carrots so there are 10 on the page. There are a number of ways of doing this. You can either drag the carrot icon from the project bar onto the page nine more times, right click on the carrot and select ‘copy’ and then ‘paste, or use the keyboard keys ctrl C and ctrl V to copy and paste the carrot. It doesn’t matter which way you choose, as long as you end up with 10 carrots on the page.
Note that when copying and pasting, before the object is pasted, the cursor turns into a cross shape, you then need to click to actually paste the object.
When you have 10 carrot objects on the page, drag them into position as you would like to see them on the page.
Change the Carrot Numbers from 1 – 10
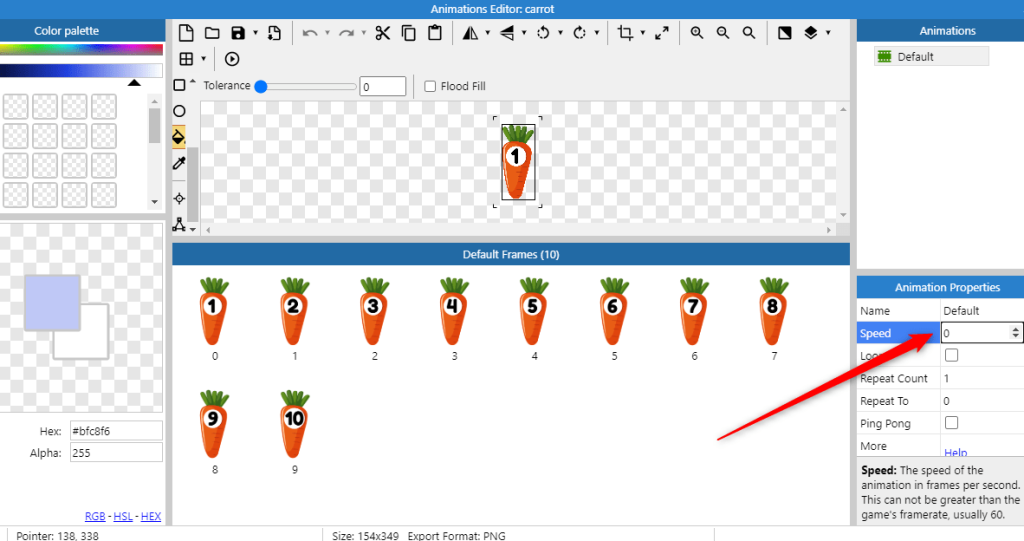
At the moment, each carrot is numbered ‘1’. To change the number we need to change the animation frame. When we load multiple images into a single object, the image management is referred to as ‘animation’ because the multiple images can be used to make animations (but they are also used as static images as we are doing here). Each individual image within an object is referred to as an animation frame and these always start at 0.
To change the animation frame, so the numbers are presented from 1 – 10, click on the carrot you want to change and then scroll down the ‘properties’ menu bar on the left of the screen. You are looking for ‘Initial Frame’ and it will currently be set at 0.
Change this to the number that relates to the position of the number you require, remembering that the sequence for the frames starts at 0, so the initial frame for carrot number 7 will be frame number 6 etc.
Change the frames of each instance of the carrot so that they read 1 – 10 sequentially.
Preview the Project
If you now click on the ‘preview’ button (the little triangle next to ‘buy now’ at the top of the page), you will see we have one small problem with the carrots 🙂 The numbers are all changing to 10!

Because we have added multiple frames to the carrot object, the system thinks we have an animation sequence, so it is ‘animating’ the graphics. We need to change the animation speed to 0 so display a static graphic.
This is super easy to do – just double click on the carrot icon to open the animation editor and change the ‘speed’ option to 0.
Now, when you preview the project, the numbers should stay static.