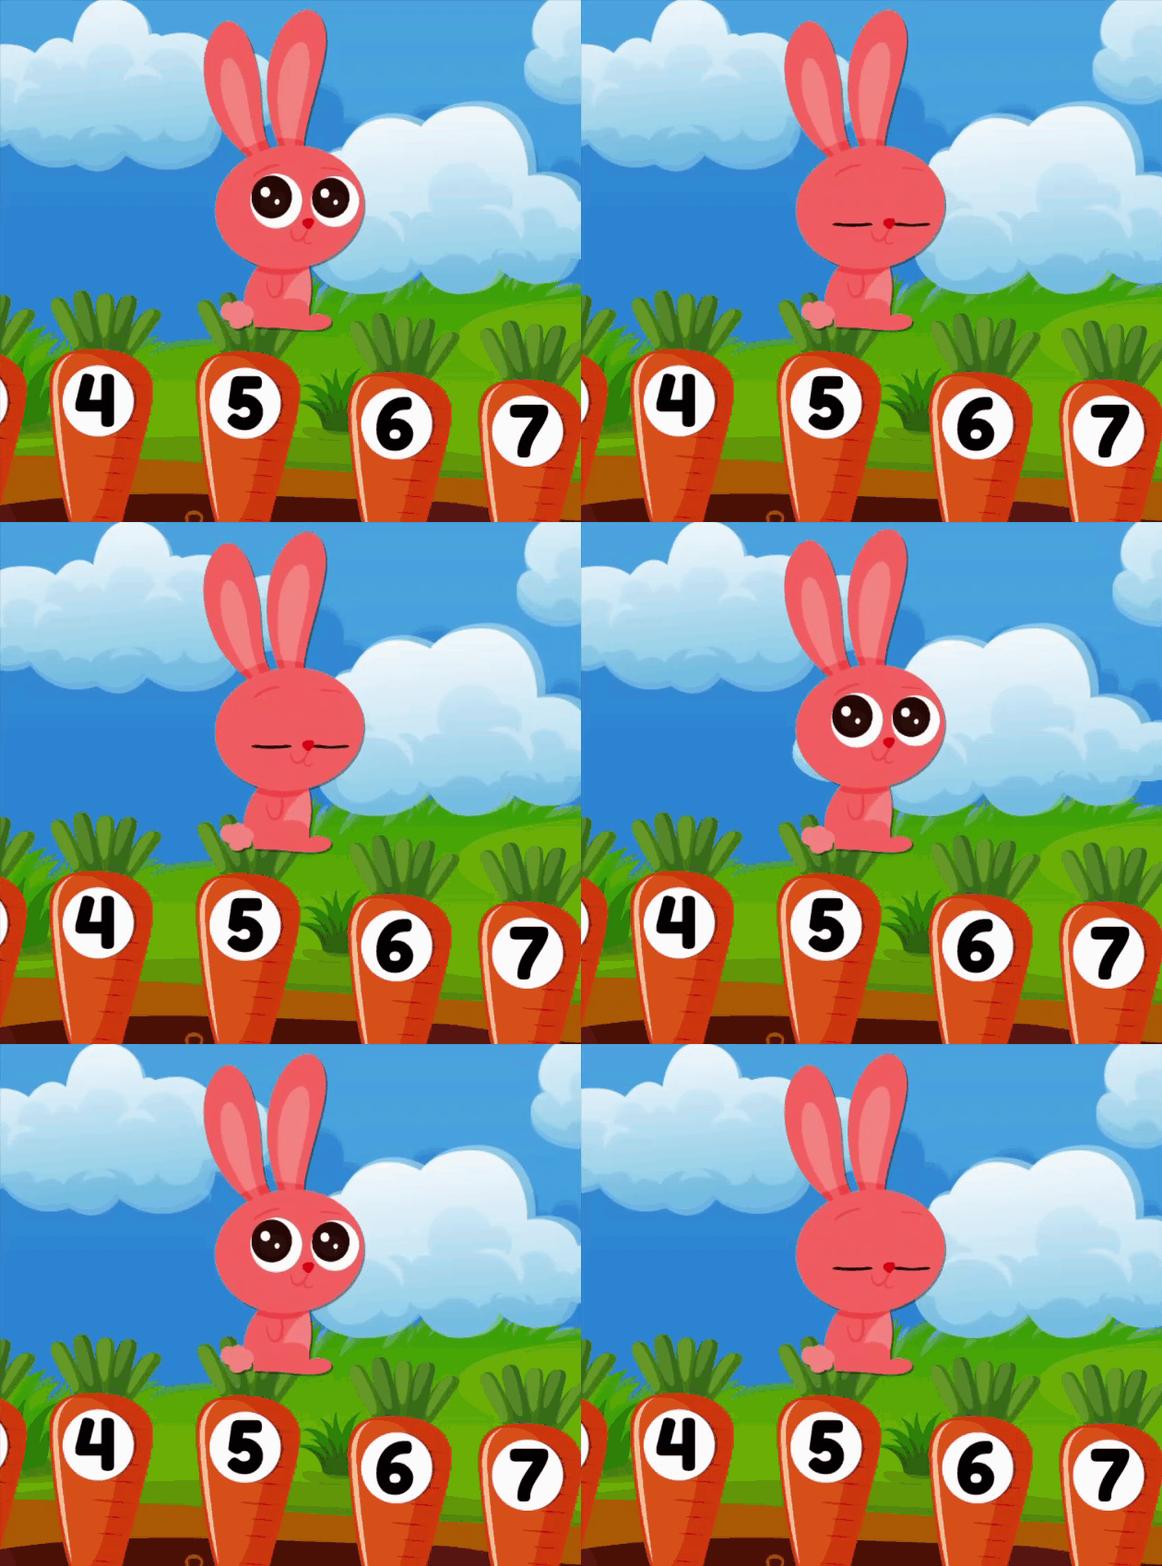
In this lesson, we are going to tweak the animation so the bunny blinks. This type of animation is fun to do and adds additional interest for young players.
We could just add a blinking image to the first animation, however this would mean the bunny blinked at fixed intervals, which would look very robotic, therefore we’re going to make it a little more random.
This is the effect we are after:
In order to achieve this effect, we need to add a second animation. Therefore, double click on the bunny icon in the right hand Project panel to open the animation editor.
Create a New Animation
To create a new animation, go to where it says ‘Animation’ at the top right of the panel and right click and select ‘New Animation’.

In order to make the animations easily identifiable rename them to Idle and Blink as you can see in the top right of the image below. Select ‘Blink’ and click on the file icon at the top left and import the Blink bunny image into the page.

Close the window.
Add a Random Timer
We are now going to add a random timer which will play the bunny blink image.
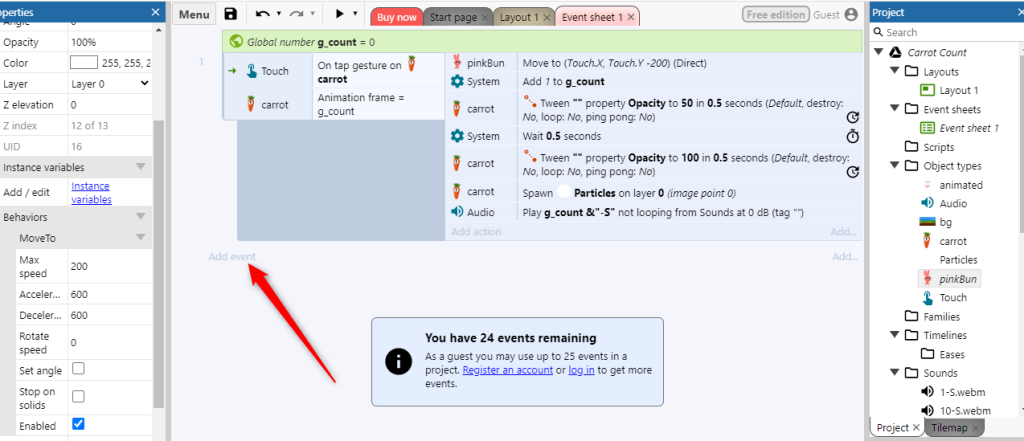
To do this, we will create a new event and use the ‘Every x second’ condition. Click on under the previous event where it says ‘Add event’:
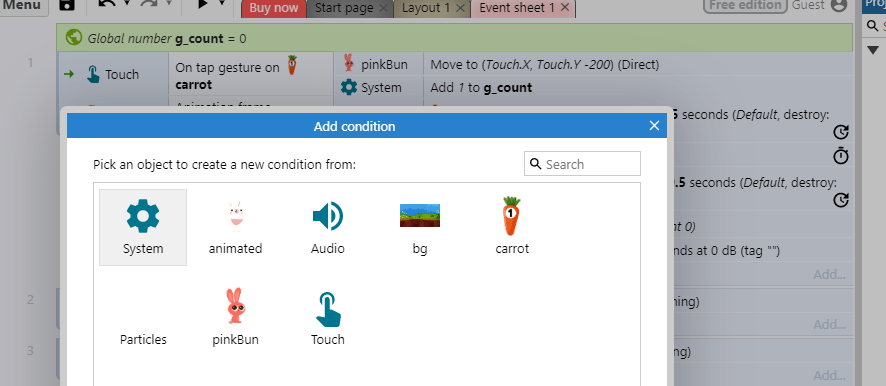
Select ‘System’:
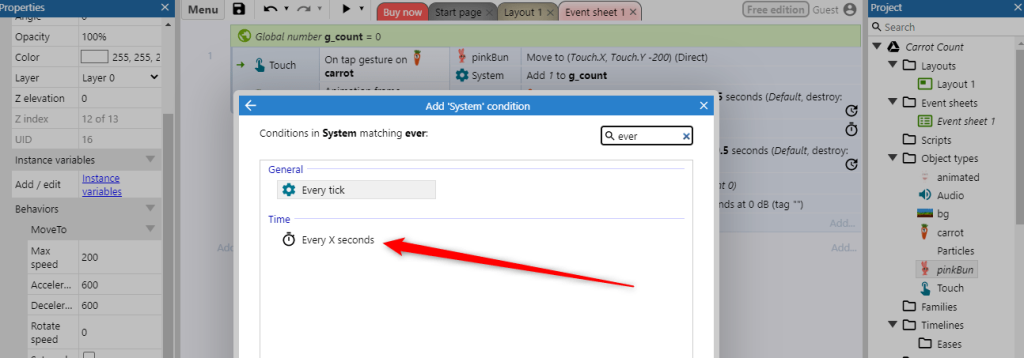
And then select the ‘Every x seconds’ condition (remember it’s quicker to start typing the words into the search bar to narrow down the suggestions:
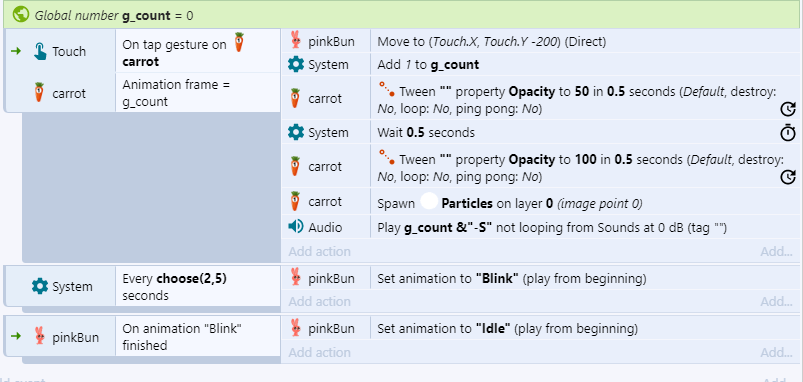
We now need to tell the system after how many seconds we want the blink image to appear. We are going to use the ‘Choose’ command for this. We can tell the system to choose between a series of numbers. I have asked it to choose either 2 and 5 seconds. If I had wanted it to choose more numbers, I would simply add them after a comma as follows choose(1,2,3,4)

Change the Animation
We now need to tell the system what we want it to do every 2 or 5 seconds and for that, we need to add a new action.
We’ve done this several times before, so click where it says ‘Add action’ and select the bunny. Now select ‘Set animation’
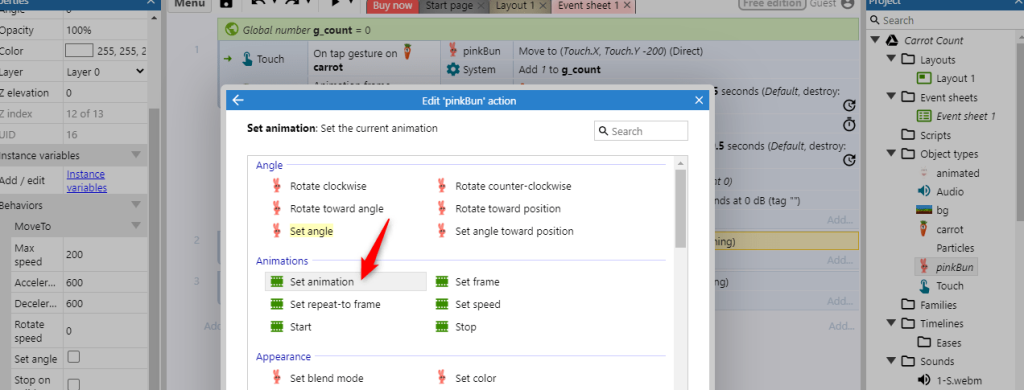
You will be prompted to add the animation unit you want to change to. Add this between the “quotation marks” typing it exactly as you named it in the Animation editor.

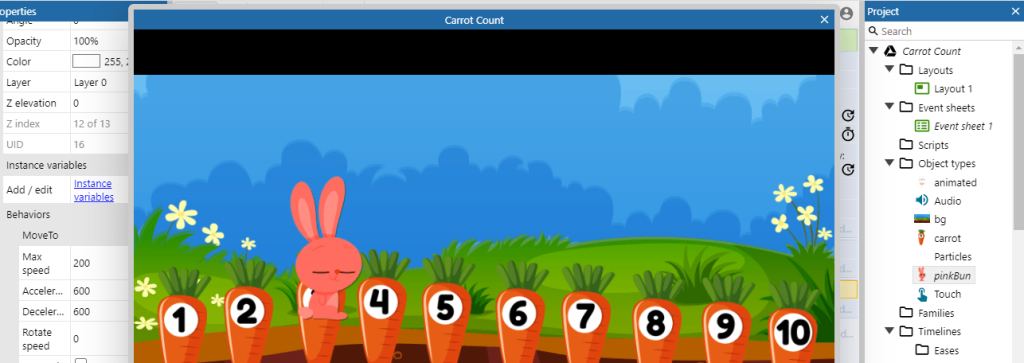
If you play the preview now, you will see we have one small problem – the bunny now permanently has his eyes shut!
Set an Event to Change the Animation Back
We therefore need to set a new event which changes the animation back to Idle. We want to instruct the game to change the animation back to the Idle animation when the Blink animation has finished.
Create a new event as we did above and this time select the Bunny and select ‘On finished’. This is saying that we want the game to take an action when an animation has finished.
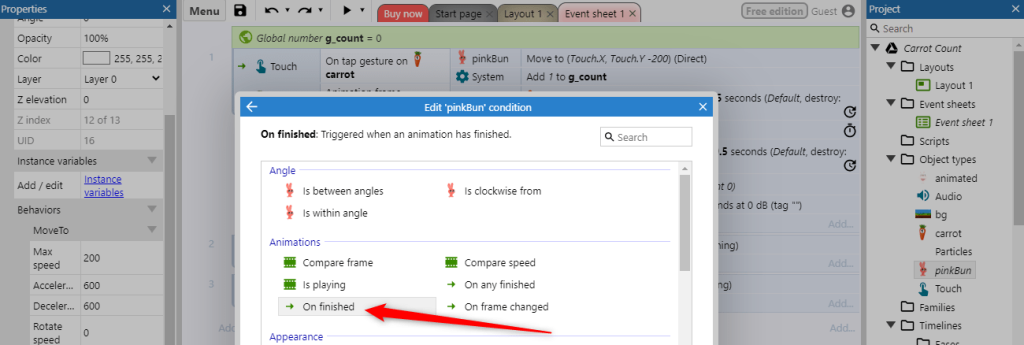
You will be prompted to enter the name of the animation. Again, make sure the name is typed in correctly.

And now we need to add a new action to change the animation. This is a repeat of the step above, however this time we want to change the animation to ‘Idle’. Therefore, click ‘Add action’, select the bunny object and then select ‘Set Animation’, this time selecting “Idle”.
If you run the preview now you should see the bunny blinks at 2 or 5 second intervals.
Your event sheet should now look like this:
