The game is functioning pretty well as it is. The game restarts when all pieces are in the correct place, a different image is shown each time, we’ve added a few sparkles and a click when an image is in the right place, however, before we end we’re going to add a start screen.
It’s worth noting that it’s these little finishing touches that make a BIG difference to the game and it’s definitely worth investing some time into adding the polish.
We have done most of this in the Carrot Count tutorials, so I won’t go into great detail.
Create Start Layout
The first thing we’ll do is create a start layout. This is what the player sees when they first land on the game. We might add instructions or other information to this layout, but for now, we’re going to keep it super-simple.
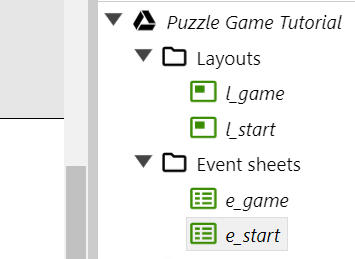
Go to the Layout section in the project bar, right click and select ‘Add Layout’ – confirm that you want a new event sheet to go with the new layout.

I like to rename the layouts so they have more meaningful names:
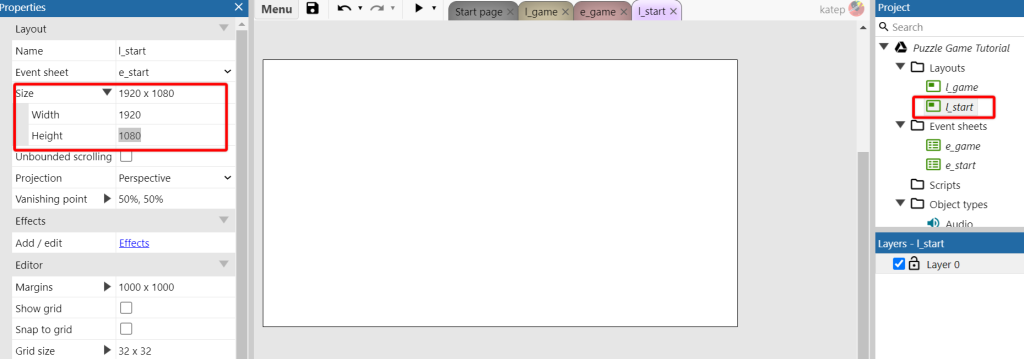
Now resize the layout to 1920 x 1080 (make sure you are clicked on the correct layout in the project panel).
One more thing to do before we start to add elements, and that’s to tell the game to start with the Start layout.

Add Images, Buttons and Movement
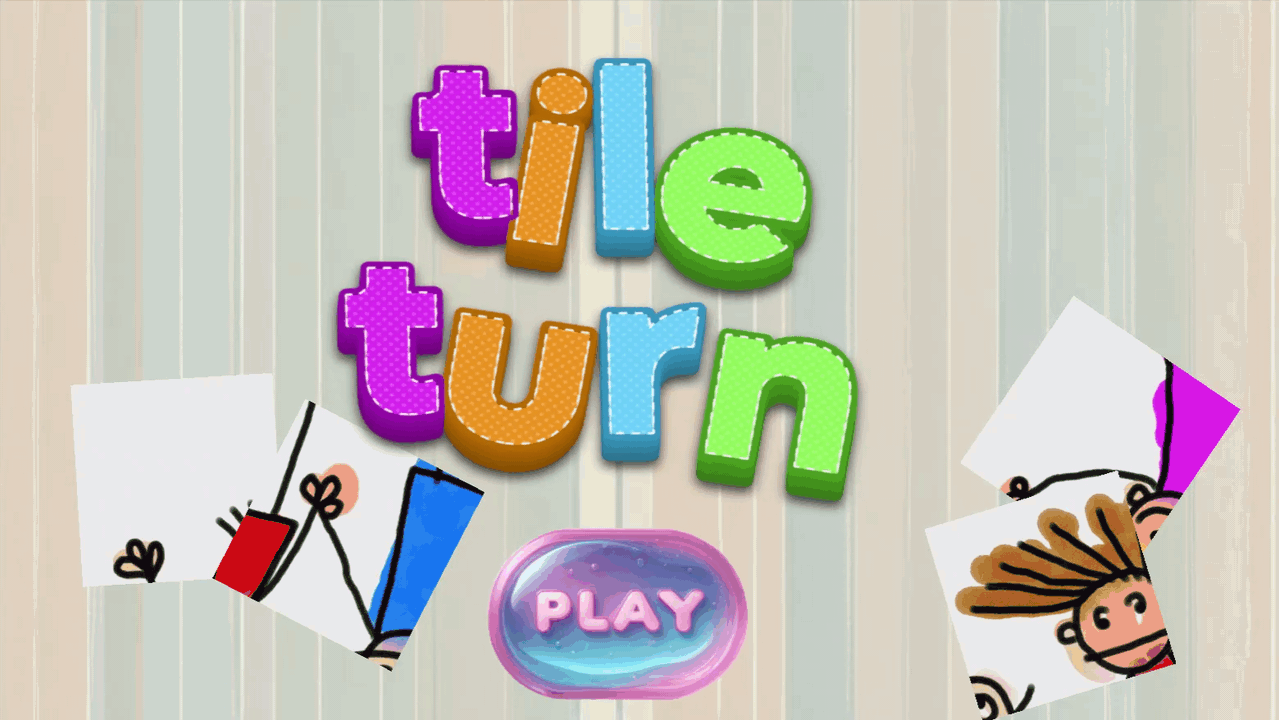
Drag the background image onto the layout. You will also find in the game asset download file a text image you can use as a title and a play button.
I also added a few tiles on the start screen too.
Of course, choose your own graphics if you have any on hand.
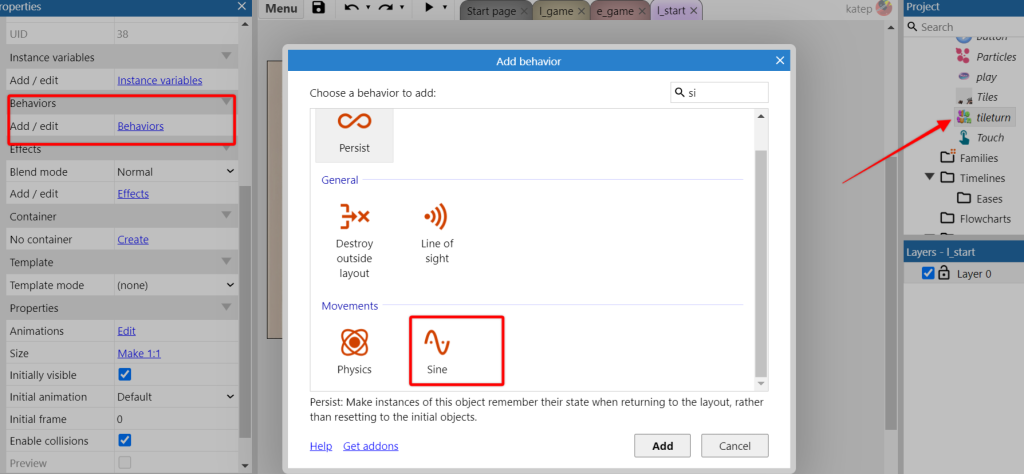
Drag the title graphic into position and we’ll add some movement to it. Make sure the title graphic is selcted in the Project Panel, then to the Properties panel, select Add Behaviour, then look for the Movement behaviour for Sine.
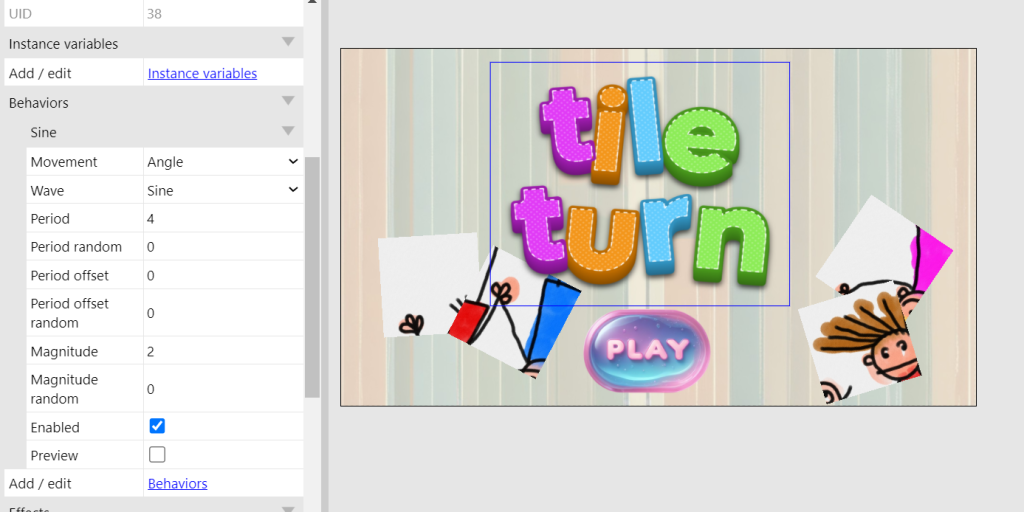
This will add movement to the title. If you look in the Behaviour window in the Properties panel – you will see you have a few options. I suggest experimenting, but for now, change Movement to ‘Angle’ and then change magnitude, further down, to 2.
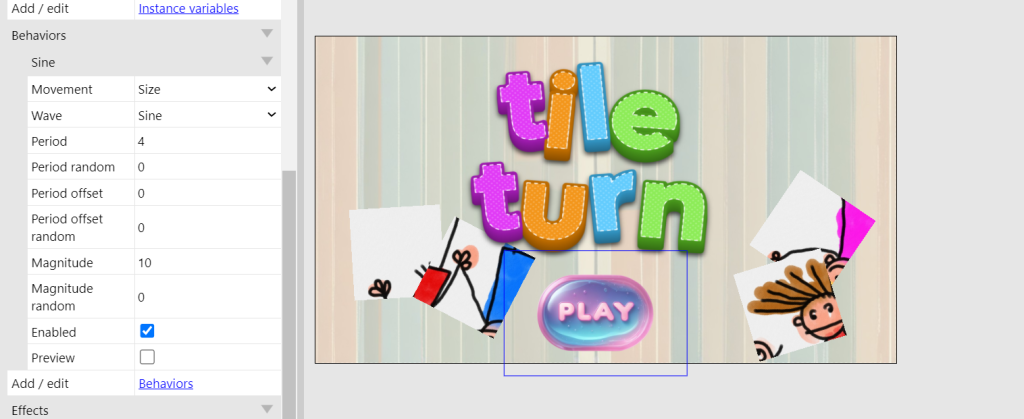
And then do the same with the Play button:
This will give some movement on the title and the play button like this:
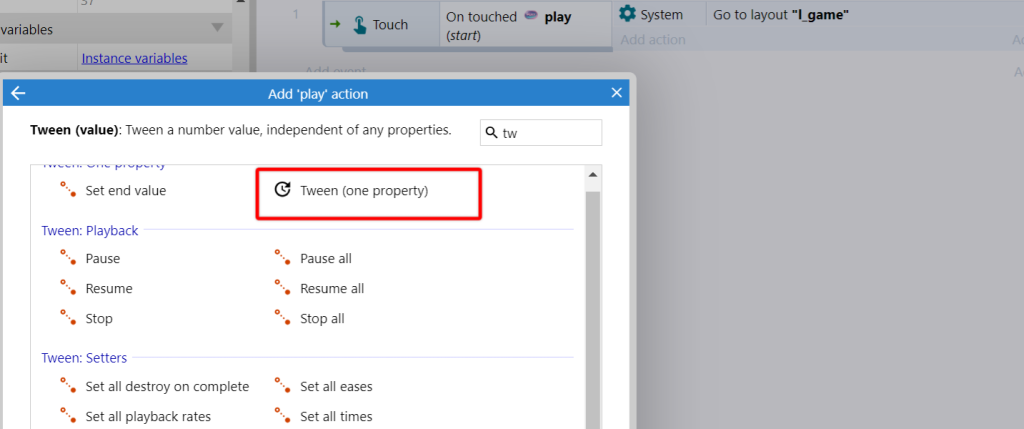
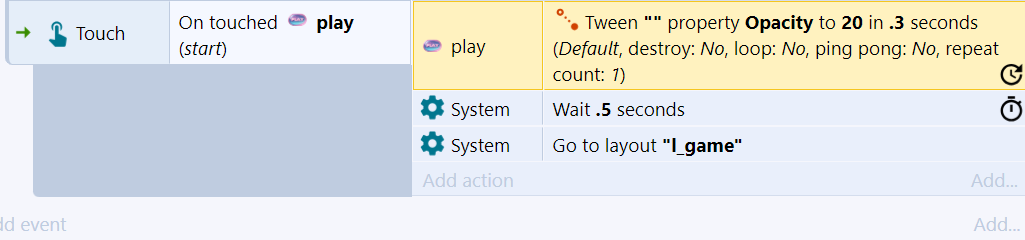
Now on the Start Event sheet, we need to set an event telling the game what must happen when the play button is clicked:

And let’s add a little flourish to the Play button so it goes transparent when it’s clicked.
To do this add the ‘tween’ behaviour to the button. Do this in the same way you added the Sine behaviour.
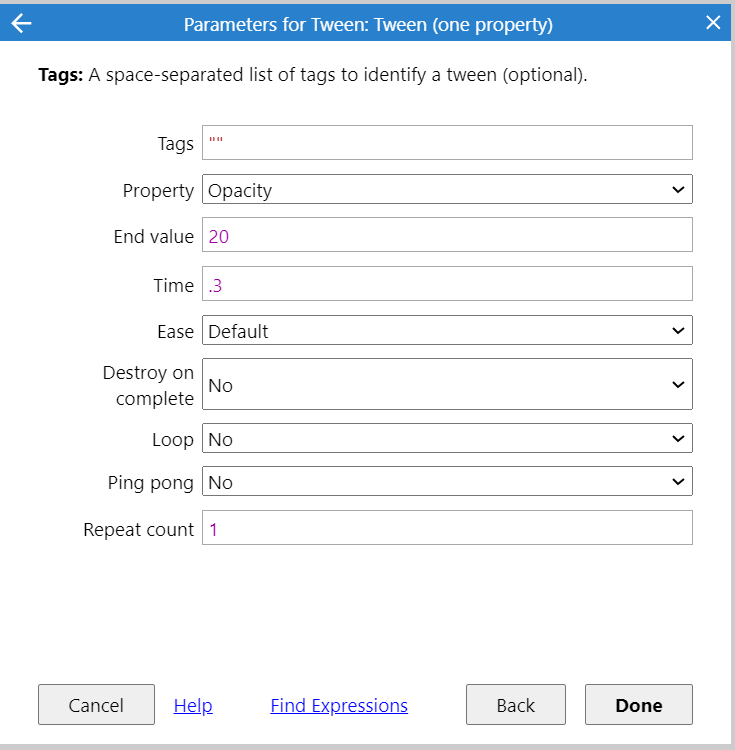
Then add an action on the Play button, using the Tween One Property action:
And set it so that the opacity ‘tweens’ to 20 in .3 seconds. Everything else can stay the same.
Now we’ll add a pause, so when the button is clicked, it fades slightly and then after a half second delay, we move to the Game layout.
Add the wait (System > Wait) and rearrange the order so things happen in sequence:
Remember:
Now we have more than one layout, it’s important to make sure you are on the correct layout when you want to preview your project. If you want to preview the project as a player would, select ‘Preview Project’ in the preview options and this will start you at the start screen.