Visual & audio cues are important in all games – but particularly important in educational games for very young learners as it helps them understand when they’ve been successful or gives them a friendly indicator if they have done something incorrect. Read more about visual cues HERE.
If you have followed our counting game tutorials, you will be familiar with adding particles to give some sparkle to the game, so you’ll be familiar with the process.
We will also a couple of extra bells and whistles to the game.
Add Sparkles (Particles) When a Piece is In the Correct Position
You will be familiar with a lot of the steps we are taking now!
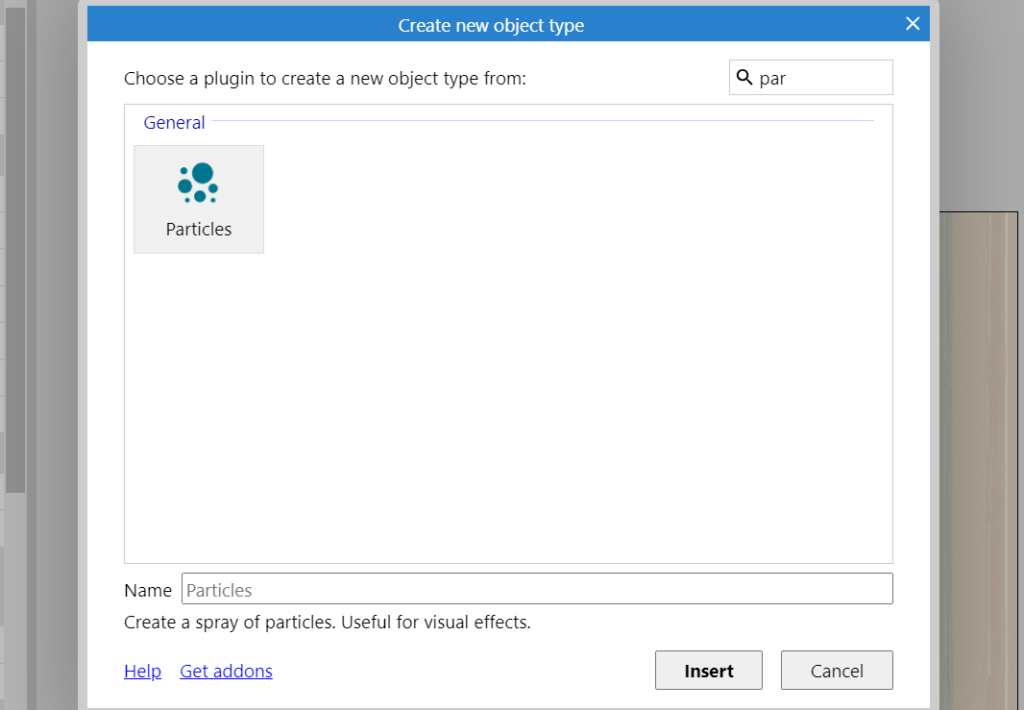
To create sparkles or particles which are shown when a pieces is in the correct position, create a new Particle object. Right click and find ‘Particles’.
When the editor window opens, create a few shapes inside the box. I’ve created a few circles with the elipse tool:
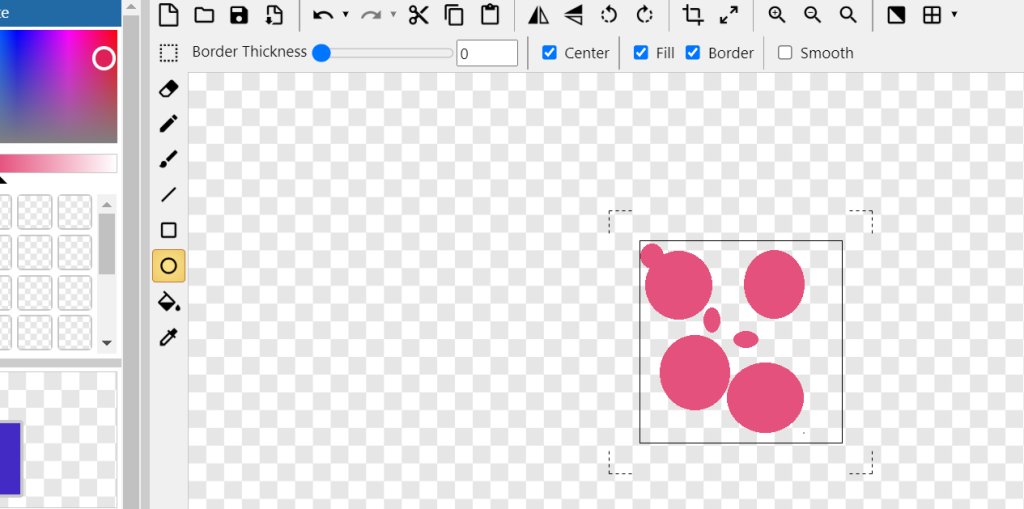
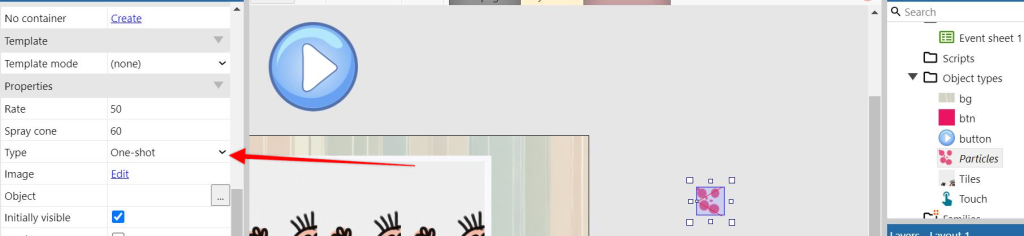
We’re not going to worry about making any changes at this moment – other than change the setting in the properties panel from ‘Continuous’ to ‘One Shot’.
There is a LOT that can be done with particles and a treasure chest of effects can be achieved, so it’s worth having a play around with the settings, but we’ll come back to that in a future tutorial.
We want the particles to give a quick burst when the tile is in the correct position. To do this, we’ll add another action to the Play event where the game identifies if the tile is in the correct position:
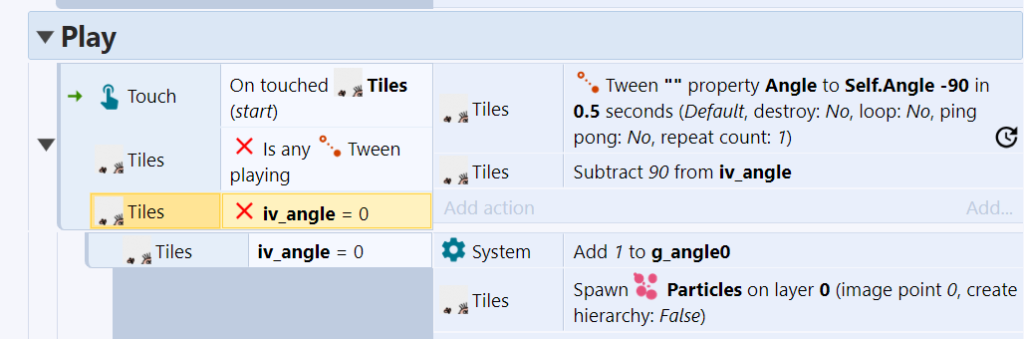
Click where it says ‘add action’, select ‘Tiles’ and then look for ‘Spawn New Object’. Select particles and then run ‘Preview’ to see what it looks like.
OK – so perhaps that’s a little too subtle. Try making some changes to the Particle properties tab and see what difference it makes. This is what I did:
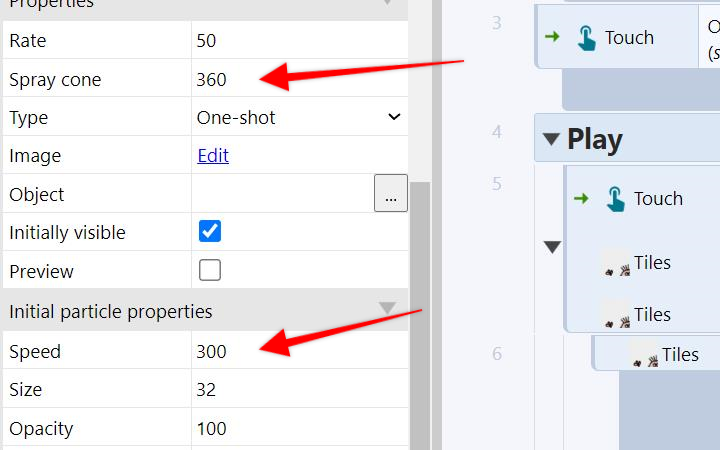
By changing the spray cone to 360, so the particles explode in a circle, and increasing the speed, the effect is a little more noticable:
Play with these settings until you get the effect you desire.
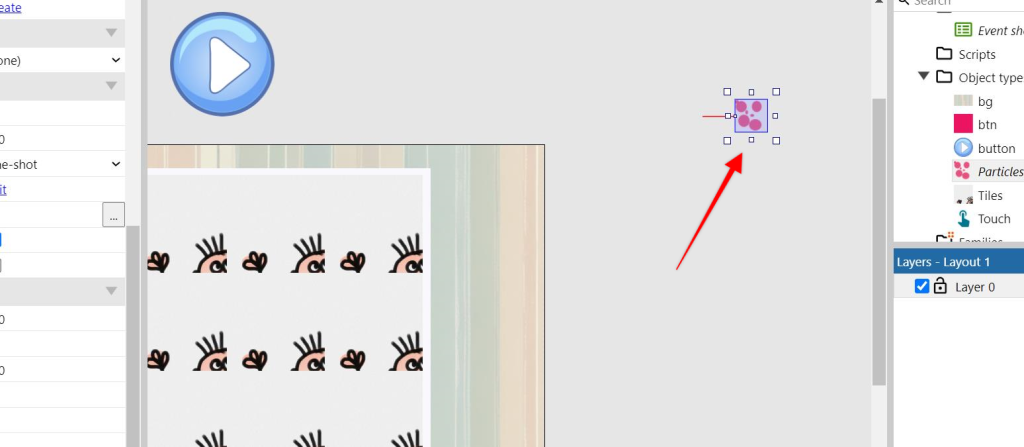
TIP: We will leave the particle object on the layout – however make sure it is well away from the main view window, so particles don’t come into the game uninvited 🙂
So now a player knows through a little burst of sparkles that they have got a tile in the correct position.
Now we are going to add a sound.
Add Sound to Game
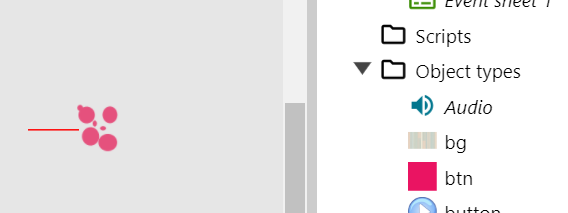
Right click on the layout and select the Audio object. That will appear in the project bar like this:
Then go to ‘Sounds’ in the property menu, right click and load the ‘click’ file from the project downloads.
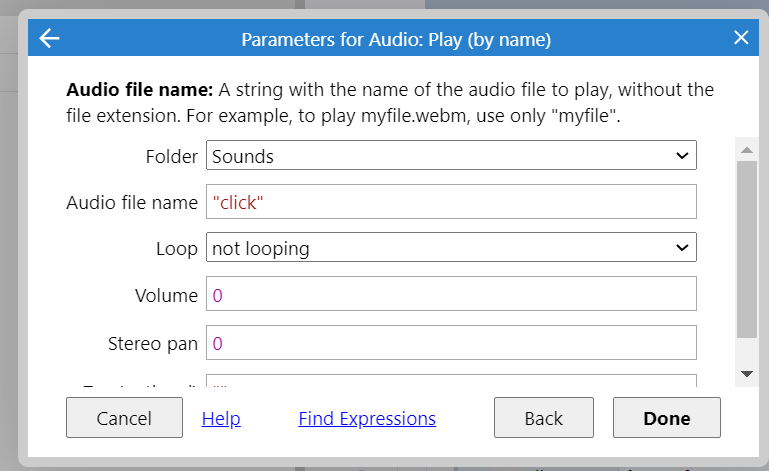
Then, in the same event where we added the particle effect, add a new Audio condition and select ‘Play (by name)’. This will tell the game what sound to play. While we currently only have one sound, if we have a game with multiple sounds, we will need to tell the game which one to play. Make sure you spell the name correctly 🙂
Again, this might not be the most imaginative of sounds, but you can change it later to a sound you have created or have available.
We’ll leave it here for now – test the game using Preview and save it before moving on1