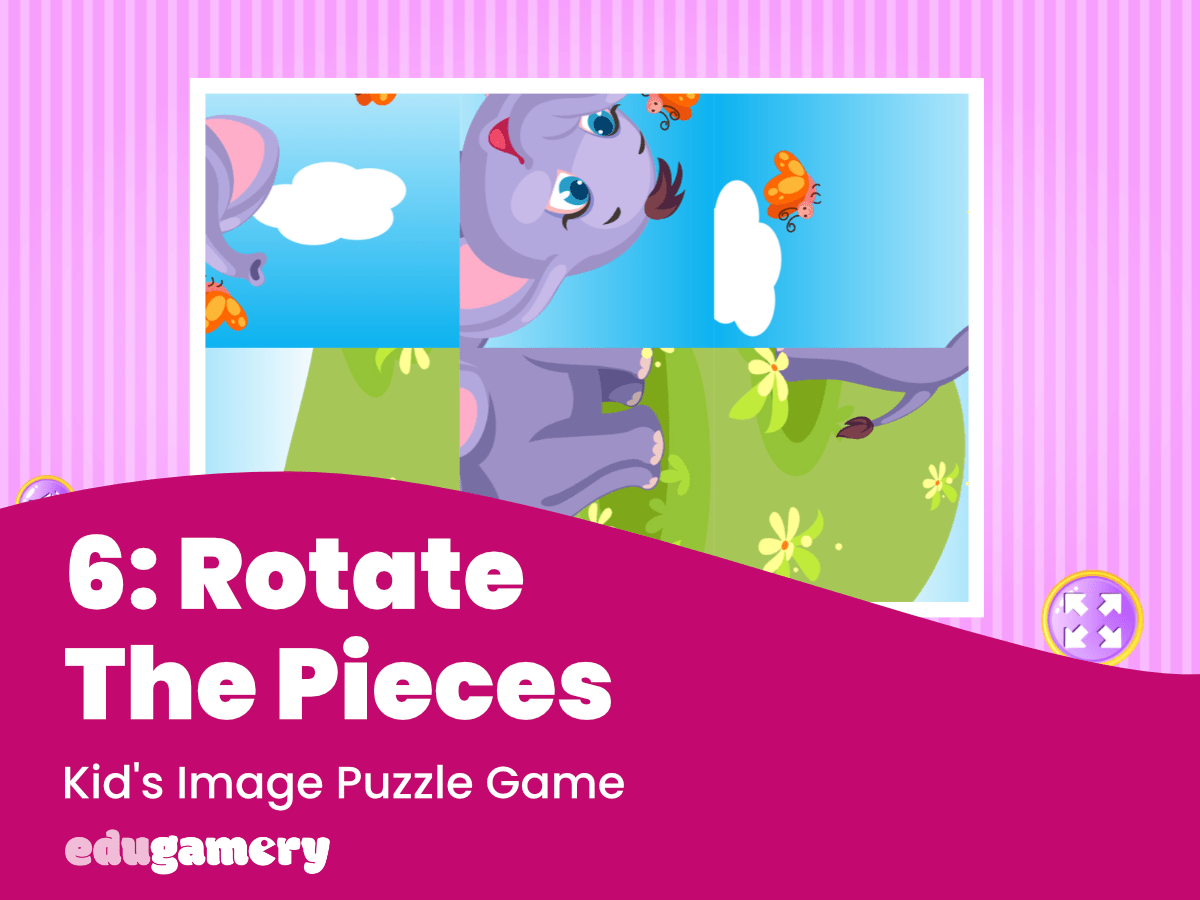
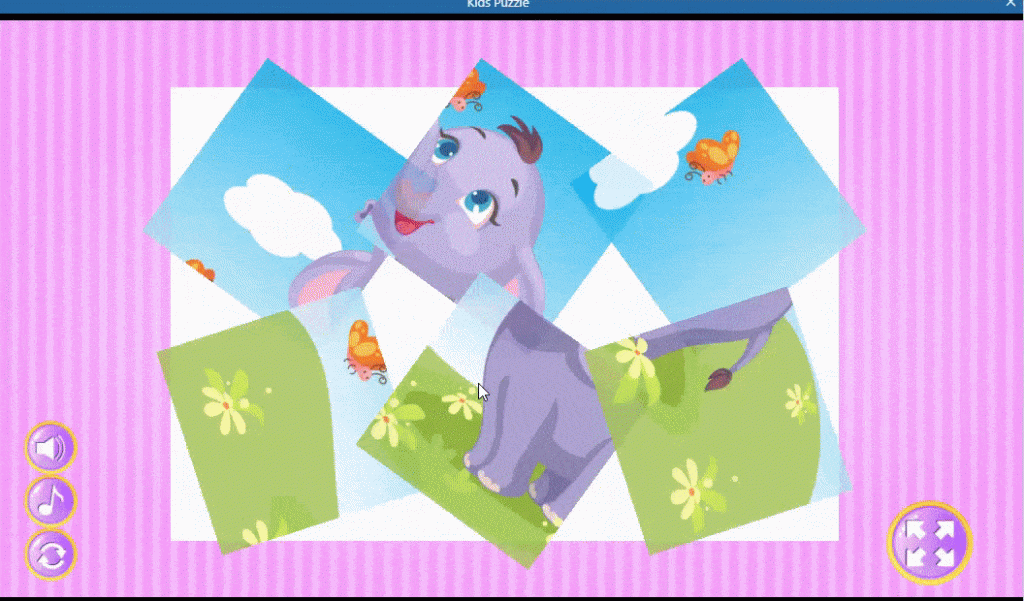
We’re now going to rotate the pieces so they are each facing in a different direction.
The first important thing to note is that the puzzle pieces are all currently pointing to 0 degrees. Therefore, we want to turn the pieces to 90, 180 or 270 degree angle.
However, we also want the angle to be different on each AND different each time the puzzle is played.
So, to do this we need to add some behaviour to our puzzle pieces. In Construct 3, behaviour is added to objects to make them behave in different ways. We want to add Tween behaviour. Tweening (inbetweening) is a term used to describe animation and movement. We are using tweening so rather than the angle being changed instantly, the player will see the pieces rotate.
This is the effect we see in the video below:
1/ Add Tween Behaviour
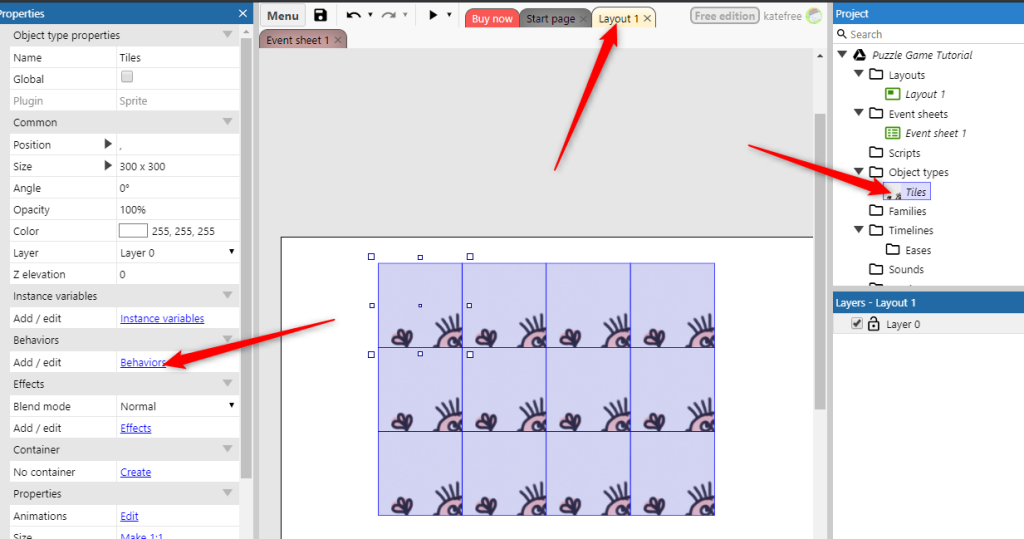
Go to the Layout, select the Tile object from the right hand panel and the select ‘Behaviour’ from the left hand panel.
You will then be prompted to add a new behaviour. We are looking for the Tween behaviour – as before, it is easier to start typing in ‘Tween’ to find the behaviour.
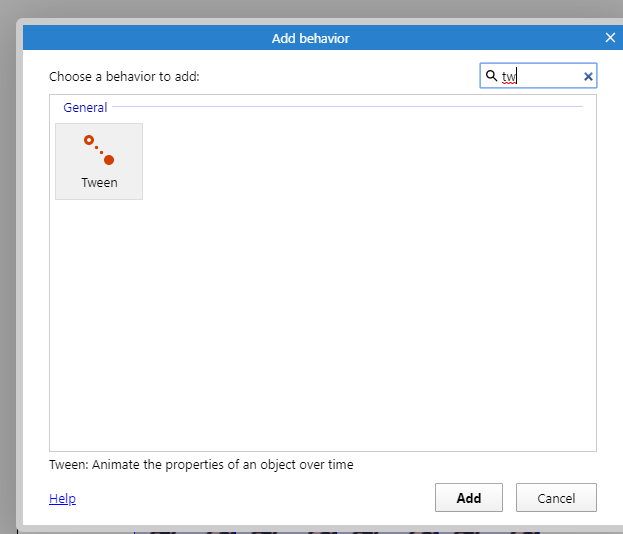
Click ‘Add’ to add this behaviour.
2/ Make Tween Action
Now go to the event sheet and we’ll add a new action to the ‘On Start Of Layout’ event. We want this action to happen on the Tile object, so click ‘add action’ and then select the Tile object.
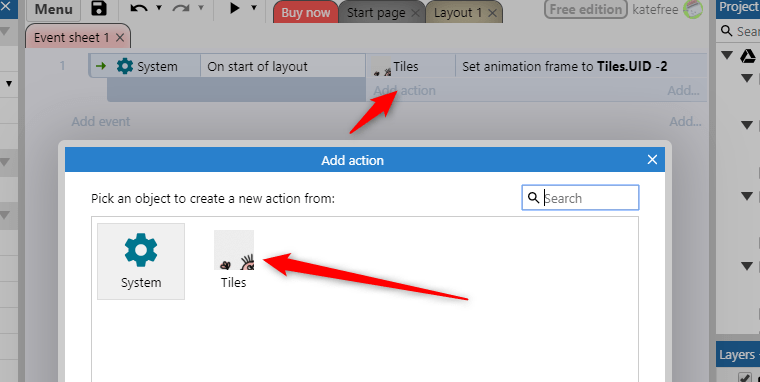
You will now be prompted to select an action. We are looking for the Tween: One Property action.
Note at the top of the panel you will see the object we are adding the action to. This is handy for making sure the right action is being added to the right object.
Select ‘Tween One Property’.
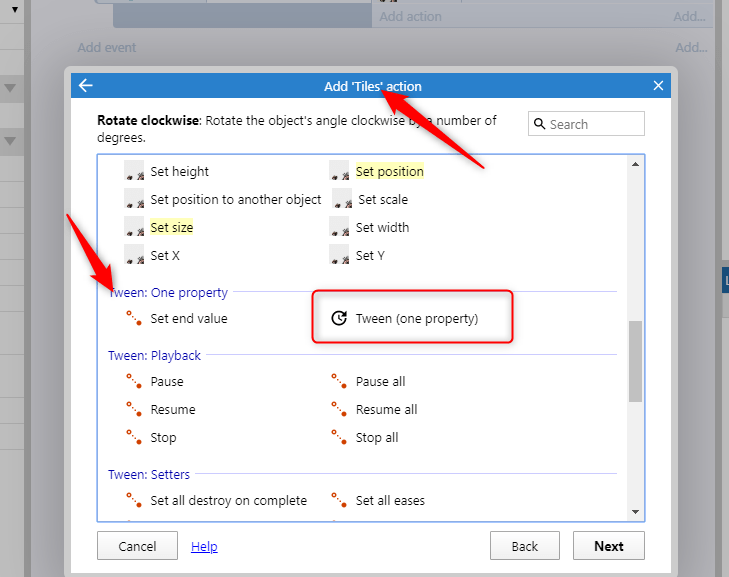
You will now see a window where we set the parameters.
3/ Set Parameters
We are now going to tell the system to rotate the pieces – and we’re going to ask the system to choose which angle to rotate the image to.
In Construct 3, this is as simple as saying choose(a,b,c). The system will then randomly choose one of the options given.
To set our angle randomly, we are going to:
- Change the Property to Angle
- Set the End Value to choose(90,180,270)
- Set the time to 1 second
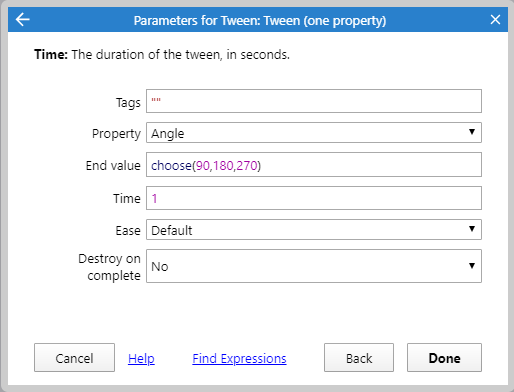
Click on ‘Done’ and you should see the pieces are automatically rotated at the start of the puzzle.
You may want to change the time it takes for the pieces to rotate and try different time lengths to see the effect (a time between 0.5 and 1 second works well). However, because the rotation happens at the start of the layout, you can only see it once before having to close the preview and reopen it.
We’re going to add a ‘restart’ button so you can restart the layout without having to shut and reopen the preview. This is specifically for testing.
Temporary Buttons for Testing
You will find that adding temporary buttons for testing is a handy way to be able to test features in a game and when bug testing to find out why something isn’t working as expected. These get deleted when the game is ready to be published.
4/ Add Temporary Restart Button
To add the temporary restart button, head back to the Layout tab, right click on the layout and select ‘Insert New Object’. We want to insert a sprite, so start typing in Sprite into the search box.
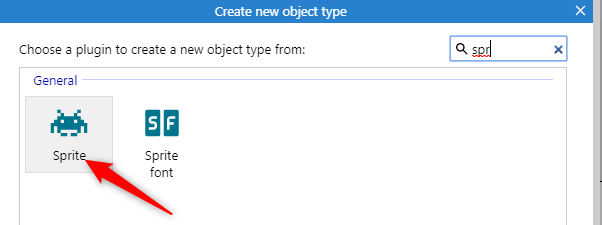
Select Sprite and ‘Add’ then click on the layout and the Sprite Editor will open. Use the paint bucket tool to color the sprite as you desire.
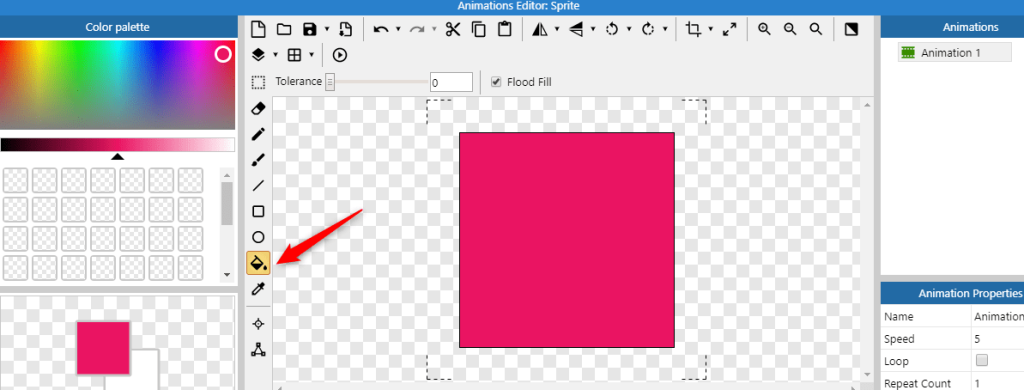
Then close the Sprite Editor (the changes are automatically saved).
Drag the new sprite where you would like to see it on the layout and use the handles around the sprite to change the size.
Rename the sprite to something that will make it identifiable (we’ve renamed it btn).
Tip: We’ve renamed the button object to ‘btn’. As you start building more complex games, you will find that having a naming convention will help keep track of the objects. We name all of our buttons with the prefix btn, for example, btn_start, btn_sound etc. This keeps them all together in the Object panel and makes it easier to find them and identify what they are.
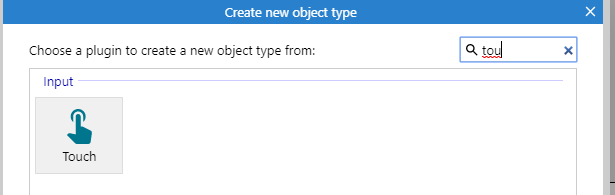
5/ Add Touch Object
We now need to add the Touch object. This is the object that manages touch and mouse input.
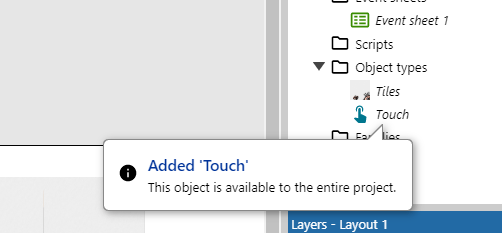
Right click on the layout and select ‘Insert New Object’, then search for ‘Touch’
When you have added the Touch object you will see this is added to the object panel on the right.
6/ Add Touch Restart Event
Head back to the Event Sheet, and add a new event.
We want to add a Touch event. Select ‘Touch’ and then select ‘on touched object’
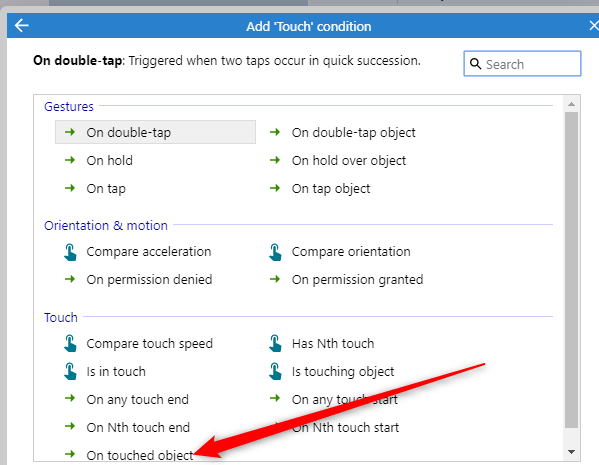
Now select the btn button object as this is what we want, when clicked or touched, to trigger an action.
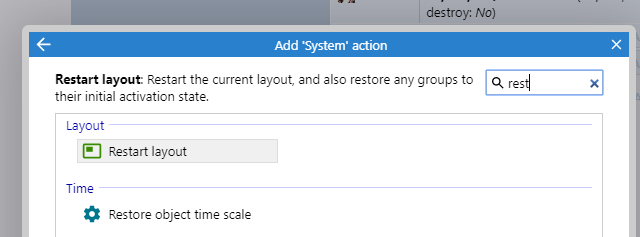
7/ Add Restart Action
We now need to tell the game what we want it to do after the button has been touched. In this instance we want to restart the layout.
Therefore, add an event and select ‘System’
Then search for ‘Restart Layout’ and add this event.
Your event should look like this:

Click on preview to test the button. Now, when you click on this, the layout should be reset. You can now view the rotation more than once without having to restart the layout.