The page at the moment looks a bit plain. Let’s add a background to dress the page up a bit.
There’s a few ways we can add a background to the project and we’ll go through them one by one. Pick the one that best suits your game 🙂
Change the Background Color
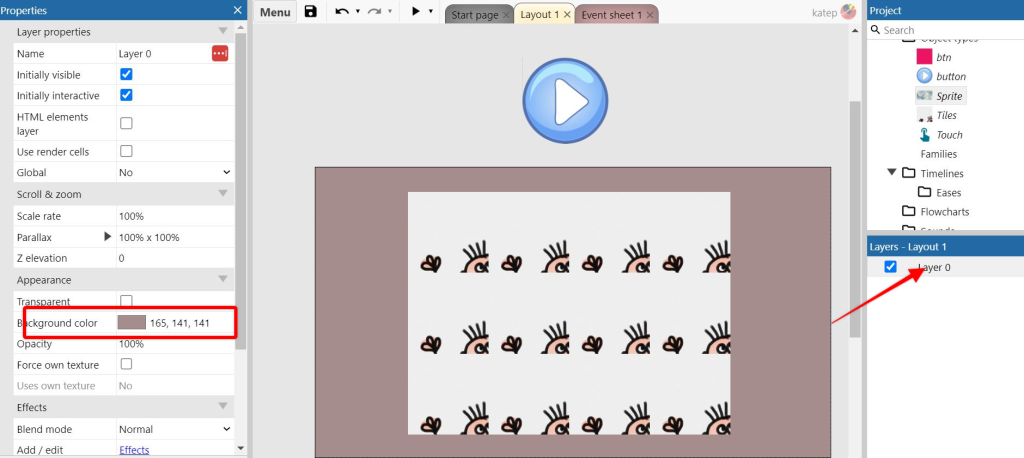
Perhaps the quickest way to add a background is to simply change the background colour. To do this, click on the Layer you want to change the colour of in the Layer Panel on the right (in this instance it’s Layer0 as we only have the one layer).
When you have clicked on the layer, look in the Properties panel and you will see under Appearance you will see a colour option that will let you change the color of the background to any colour you desire:
Create Colored Sprites
Another way to change the background is to create your own sprite images in the Construct 3 sprite editor.
Remember how we have already created a single sprite with multiple images (frames). We can do the same here – create a sprite and a couple of frames which we can use to create a colored background.
This method allows you to layer different frames together to create your own backgrounds using blocks of colour.
Create a new Sprite object by right-clicking on the Layout panel and select ‘Insert New Object’. Then start typing ‘sprite’ to find the sprite object.
Use the color picker and the paint tool to choose and fill the sprite with the color for the background.
To create additional frames just right click on one of the frames and select duplicate – then change the color as you desire.
You can change the size in the sprite editor, or simply resize the image into the correct dimensions on the Layout.
REMEMBER!
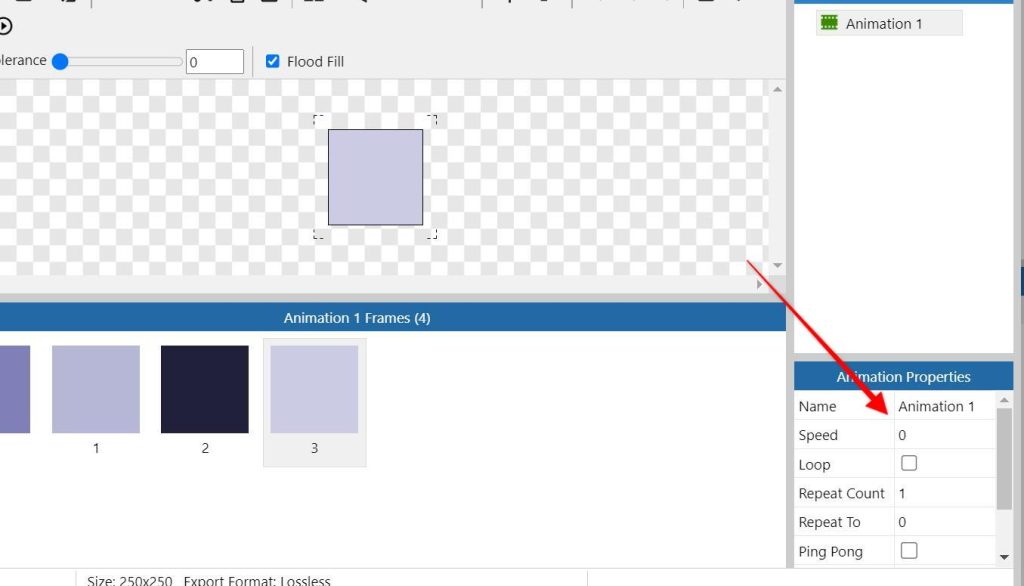
When you have multiple frames and you don’t want the image to be animated (as is the case here), remember to set the speed to 0! If you can’t see the speed setting, make sure to you have this window activated by clicking on where it says Animation 1 at the top.
Now it’s just a case of dragging the sprite into place on the layout, changing the size and adjusting the z order.
The z axis is the depth and refers to the layers. Therefore if we want to move the background to the back, we need to adjust the z order accordingly. Right click on the sprite and select ‘z order’. You may need to adjust it a couple of times to get the order you require.
Another way to handle this is to use add a new layer at the bottom and use this for background images. However, the free plan of Construct 3 has limited layers, so we’re going to work with just the one for now. I’ll show how to use multiple layers in future tutorials.
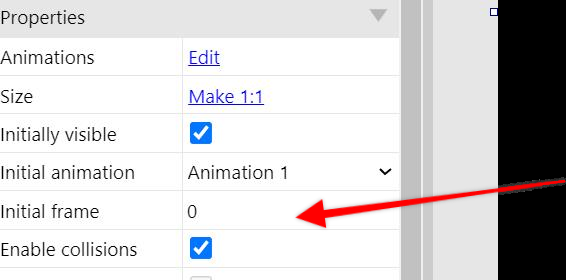
Remember, if you have more than one frame on the page, change the frame number in the property panel to show the image you require:
Upload Background Image
Another way you can add an image to the background is to upload a ready made image. We can do this in the same way we’ve uploaded other images for sprites by dragging the image onto the layout – or we can add a new image through the Sprite Editor.

Click on the icon as shown above and that will allow you to load an image from your computer.
If you have created a sprite to make the background image, rename it to background or bg.

Tip:
When I create backgrounds, I screenshot the layout in preview mode when the buttons and other parts of the interface are in place and then import the image into my graphics package and design the background around that.